

Are you using slide masters in your Articulate Storyline courses? It’s okay if you’re not. They’re a mystery to a lot of people. I see a lot of courses go both ways – with and without masters. You certainly don’t always need them and they aren’t required for a course to be great. However, they can make your life a lot easier. In this eLearning with Articulate Storyline tutorial, I’m going to show you a new trick for using slide masters to add new interactivity to your courses.
What Are Slide Masters?
“A slide master is a special ‘behind the scenes’ type of slide that controls the look and feel of the slides in your Articulate projects. Every PowerPoint and Articulate Storyline project has at least one slide master that stores the design information for its slides.”
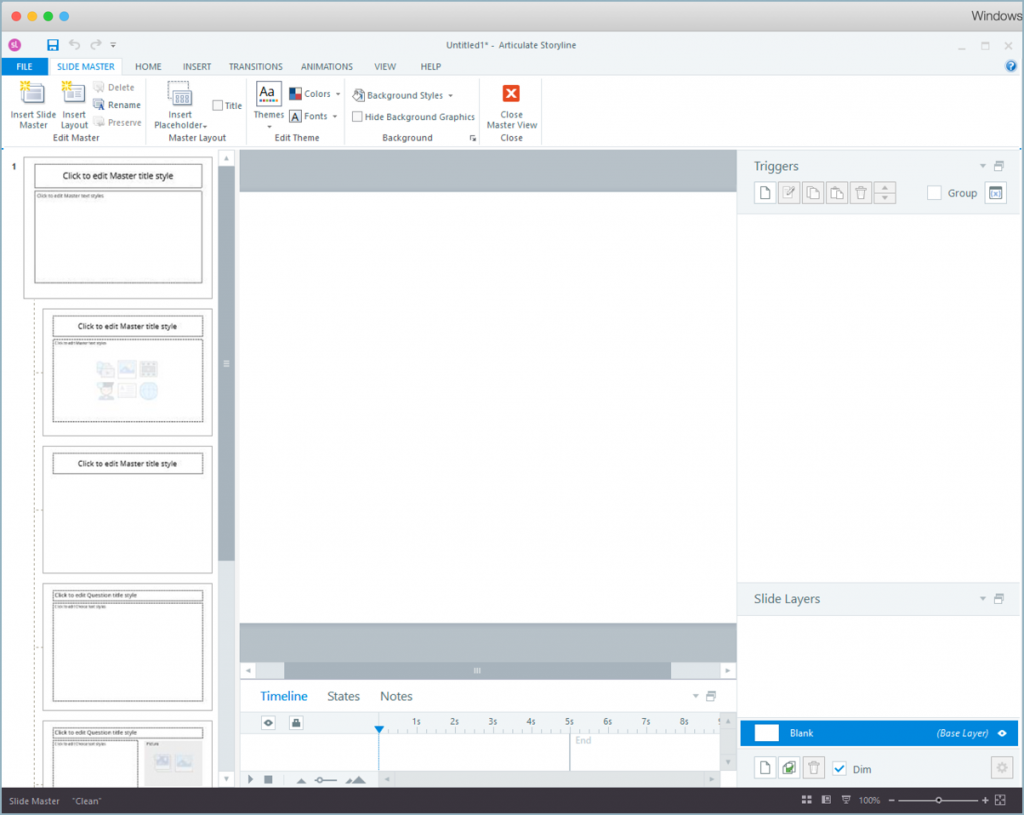
Here’s a view of a slide master from Articulate Storyline 360:
I could do an entire post just on how to use masters in Storyline. Actually, that could be an entire series. Today though, I want to talk about using your slide master for more than just a slide background.
Layers and Triggers
I was recently working with a team of other developers on several modules of a course for a client. The client wanted the learner to have the ability to review sections before taking the quiz. At first we just used an on-screen menu right before the quiz that allowed the learner to jump to specific sections. We could have also used the built-in menu. However, once the learner jumped to a section for review, they didn’t have an easy way to get back to the quiz right away. They would have had to navigate all other sections to get back.
I’ve come across this problem before in simpler courses. I just added a jump button on all of the slides. It was attached to a variable and a trigger. So, as soon as the learner hits that review page before the quiz, the variable turns from false to true. Then, each slide they visit has a trigger based on that variable being true that enables the “jump to quiz” button on each slide. This isn’t always so elegant because it means adding a button to every slide and then if something changed (like the button colour) then we had to go to every slide to change it.
Enter Slide Masters
A colleague found a nifty solution using the same variable and button idea I’d used before but instead added a layer to the slide master. There’s also a trigger on the main master (just like in my version) to show the layer if the variable is true. The layer has the “back to quiz” button and a trigger to jump the learner back to the quiz page.
Here are some step-by-step instructions I wrote for the rest of my team:
- Add a true/false variable to your project and set the default value to False. You can call this whatever you’d like. I call mine “QuizJump”.
- Add a trigger to your quiz introduction or selection page to “Adjust” the QuizJump variable to True when the timeline starts.
- Go to View –> Slide Master in Storyline.
- Add a layer to your master and add your button with the jump to slide trigger. Remember that this layer is going to display over top of anything else in that area of your slide so you’ll want it somewhere obvious but also out of the way of other content.
- Add a trigger to the base layer of your slide master:
- Go back to your base layer of your slide master and add a trigger to “Show layer, <layer name>, when timeline starts”.
- Click Show Conditions.
- Add a condition – if QuizJump is equal to Value, True.
- Click OK to save the trigger with the condition set.
- Now each time a slide starts that is based on your slide master it will check to see if “QuizJump” is true. If it is, the jump layer will automatically display.
- Don’t forget to add this layer and trigger to each slide master so that the button displays on all of the slides that it should.
Your Turn!
How else can you see yourself using layers and triggers on your slide masters? Let me know in the comments. Bonus points if you share a project where you’ve used this trick! Do you have an eLearning problem you’d like some help with? Contact us today – we’d be happy to help!
Thanks to Dan for the really neat idea!
Hi. Ive tried this for the past hour and for some reason the layer set on the master comes up with a white background when previewing the slides.. even though the layer on the master is set to “no background”.
Also, does this work on ‘layouts’ or just the main master slide?
Hi David,
It’s really difficult to troubleshoot this kind of thing without seeing the file in question. I highly recommend that you post your troubles in the Articulate Community along with access to a sample of your file. That way community members can see what’s happening and offer suggestions. Articulate Support is really great too. As for ‘layouts’, yes, I use these same tricks on layouts under the master as well. Have fun and good luck!
Hi Leah!
Thank you for such a useful post.
Is it possible to update a variable on a master slide?
I am creating a simulation course and have a section where users are required to fill in the fields according to some activity instructions. I want to show the instructions only when the user needs them and hide the instructions when the user does not. I want to place a variable in the instructions and update that variable for different activities.
Thank you,
Glenda
Hi Glenda,
Thanks for reaching out. I can’t quite gather what you’re trying to do from your description. However, we’ve always found it works best to update variables directly on the slides or layers themselves and not using a master. Since they’re a variable, it carries through the whole project so it’s easy to change via a trigger on the affected slides. You can create a variable any time (not just on a particular slide). I like to set up all of my variables at the beginning of a complex project so that I can call them any time I need them. You might do some testing to see if your use case can work in a live course. You can also check the Articulate Community forums for posts from others who may have tried this. All the best and good luck with your project!